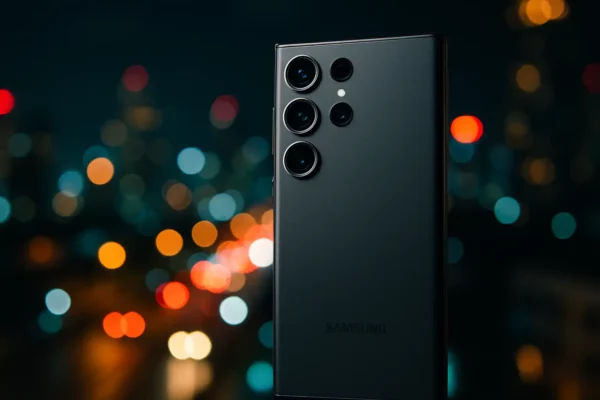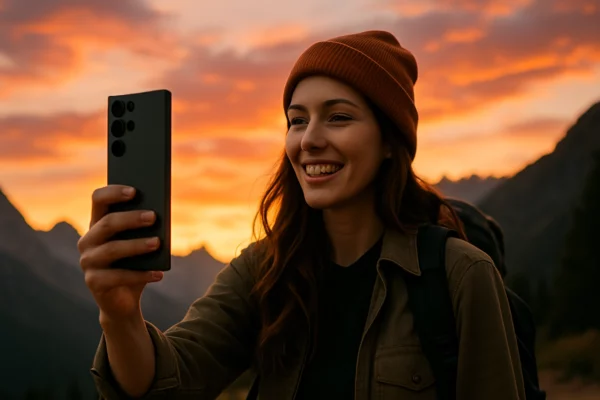
Think your Samsung takes great photos on auto? Wait until you unlock these 10 hidden settings — your shots will never look the same. Your Samsung camera is far more powerful than most people realize, but much of that potential sits behind menus, toggles, and icons many never explore. Whether you’re just starting out or leveling up, mastering these essentials will give you more control, creativity, and confidence behind the lens.
1. Switch to Pro Mode
Auto is great for quick snaps, but Pro Mode is where the magic happens. It hands you manual control over shutter speed, ISO, white balance, and focus — so you adapt to the scene instead of letting the phone guess.
-
How to Enable: Open the Camera app → swipe modes until you see Pro or Pro Video.
-
Why It Matters: Brighten or darken without filters, create buttery motion blur, or freeze fast action with crisp clarity.
-
Pro Tip: Change one thing at a time. Start by lowering ISO in good light for cleaner files.
2. Adjust White Balance for Accuracy
White balance keeps colors looking natural. Auto WB is decent, but warm lamps or cool shade can fool it — leading to orange or blue casts.
-
How to Adjust: In Pro Mode, tap WB and slide toward warm or cool.
-
Example: Food pops with a slightly warmer WB. Snowy scenes stay crisp with a cooler WB.
-
Pro Tip: Use a white napkin or gray card in the scene to dial in perfect color.
3. Master Focus Modes
Pick the right focus behavior for the shot — it’s the difference between tack-sharp and almost-there.
-
Options:
-
AF (Auto Focus): Best for everyday snapshots.
-
MF (Manual Focus): Precision control for macro or tricky light.
-
Tracking AF: Keeps moving subjects locked and sharp.
-
-
Pro Tip: In MF, pinch to zoom in while focusing to nail micro-details, then zoom back before you shoot.
4. Fine-Tune Your ISO
ISO raises sensor sensitivity. Higher = brighter (and noisier). Keep it as low as conditions allow.
-
Rule of Thumb:
-
Bright daylight: ISO 50–100
-
Indoors: ISO 400–800
-
Night: ISO 800+ (use a tripod to curb grain)
-
-
Pro Tip: If you can slow shutter or add light, do that before raising ISO.
5. Shoot in HDR Mode for Balanced Exposure
HDR blends multiple exposures to keep detail in bright skies and dark shadows — perfect for high-contrast scenes.
-
Best For:
-
Landscapes with bright skies + dark foregrounds
-
Backlit portraits
-
-
Pro Tip: Keep the phone steady during HDR processing to avoid ghosting.
6. Enable Grid Lines for Better Composition
Grid lines help you follow the Rule of Thirds and keep horizons level — fast, easy composition wins.
-
How to Enable: Settings → Grid lines → On.
-
Why It Works: Placing key elements on grid intersections creates balance and focus.
-
Pro Tip: Use the center line to keep horizons straight.
7. Capture in RAW for Maximum Editing Power
RAW preserves all sensor data, giving you far more latitude to recover shadows, highlights, and color.
-
Best For: Landscapes, low light, and high-contrast scenes you’ll edit.
-
Pro Tip: RAW files are big — enable them when quality matters most.
8. Use Scene Optimizer Wisely
Scene Optimizer identifies subjects (food, sunsets, text) and tweaks settings automatically.
-
Pro Tip: It’s handy for quick snaps. In Pro Mode, consider disabling it to avoid over-processing.
9. Experiment with Aspect Ratios
Framing changes the feel. Switching ratios can make images more cinematic or social-ready.
-
Common Ratios:
-
4:3: Native sensor — best quality.
-
16:9: Wider, cinematic feel.
-
1:1: Square — perfect for Instagram.
-
10. Lock Exposure for Consistency
Nothing ruins a sequence like shifting brightness. Lock exposure to keep tone and mood consistent.
-
How to Lock: Tap and hold your subject until “AE/AF Lock” appears.
Conclusion:
Master these 10 settings and you’ll stop letting your phone decide the shot — you will. Tweak one control at a time, practice in different scenarios, and soon you’ll be directing light, color, and motion like a pro.